
Last updated November 15, 2026
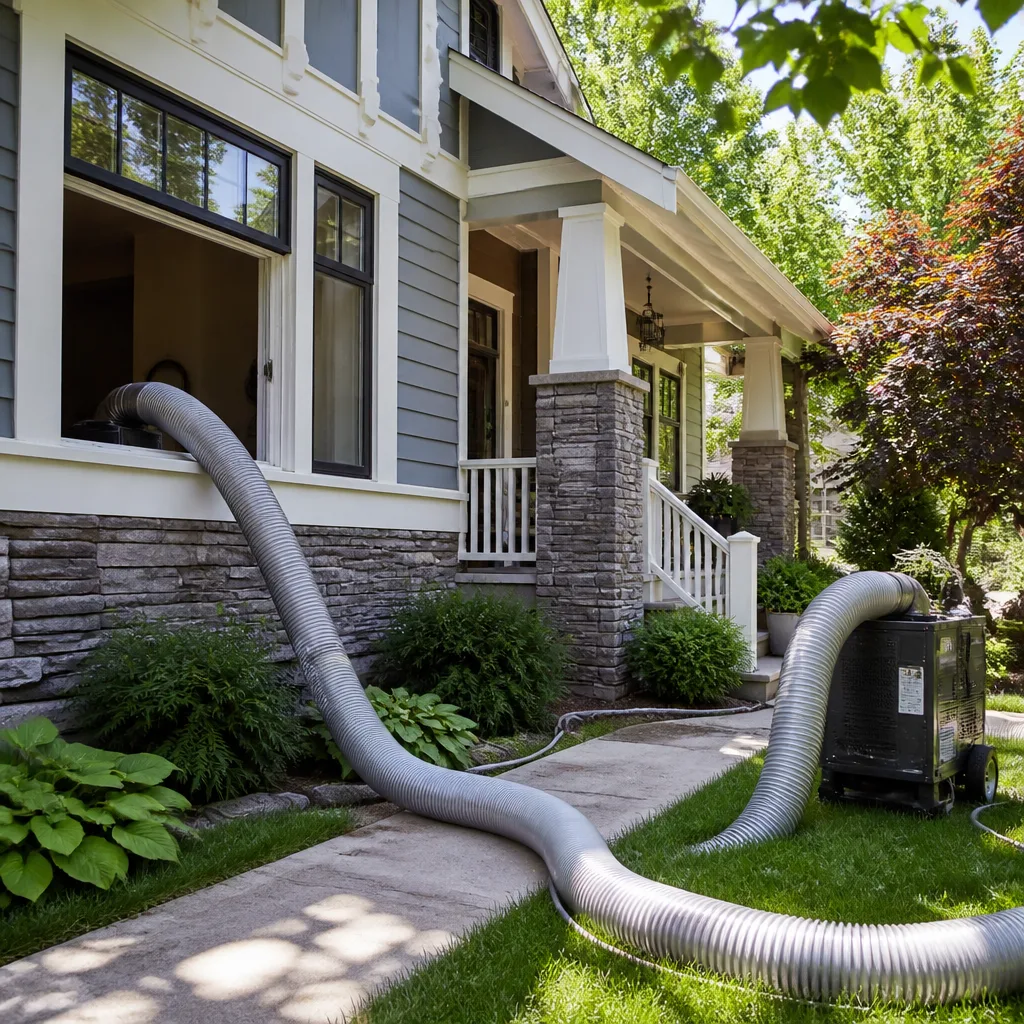 Whole-home duct cleaning
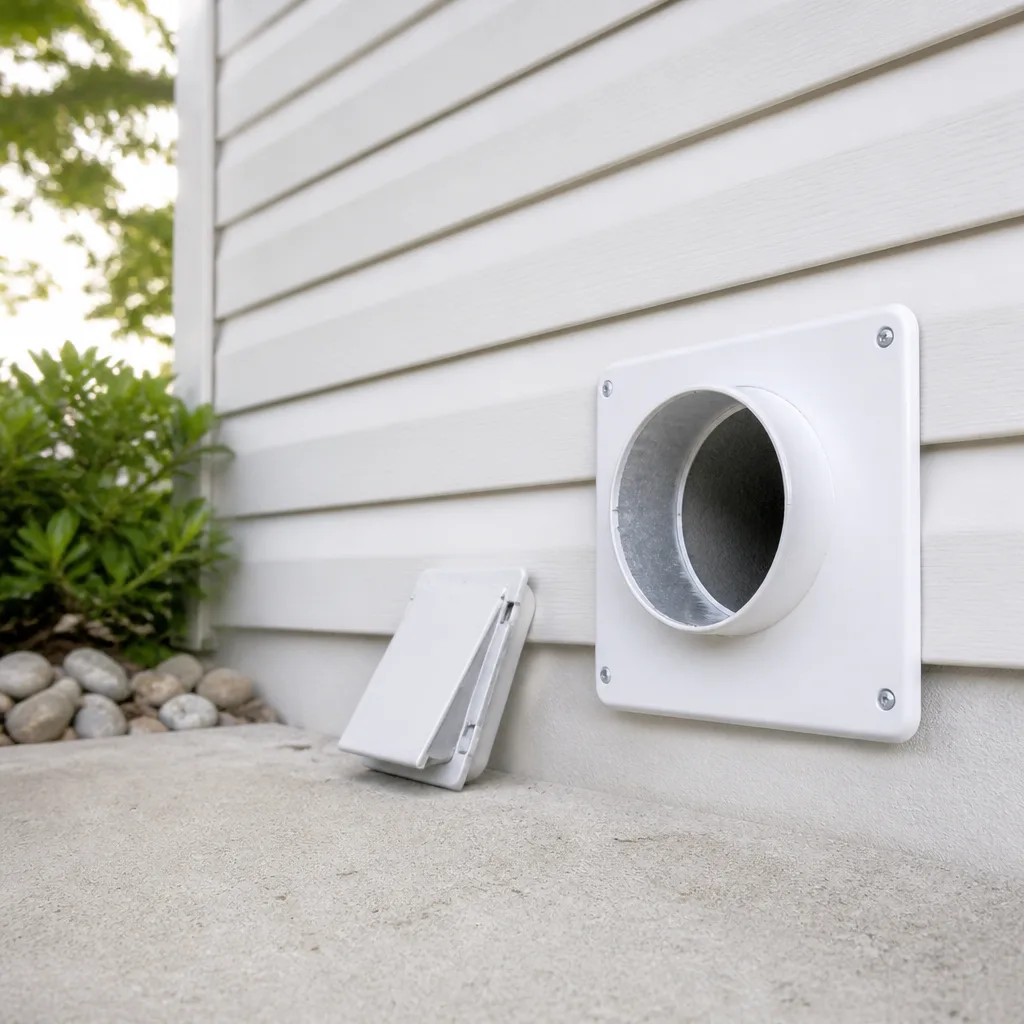 Dryer vent cleaning
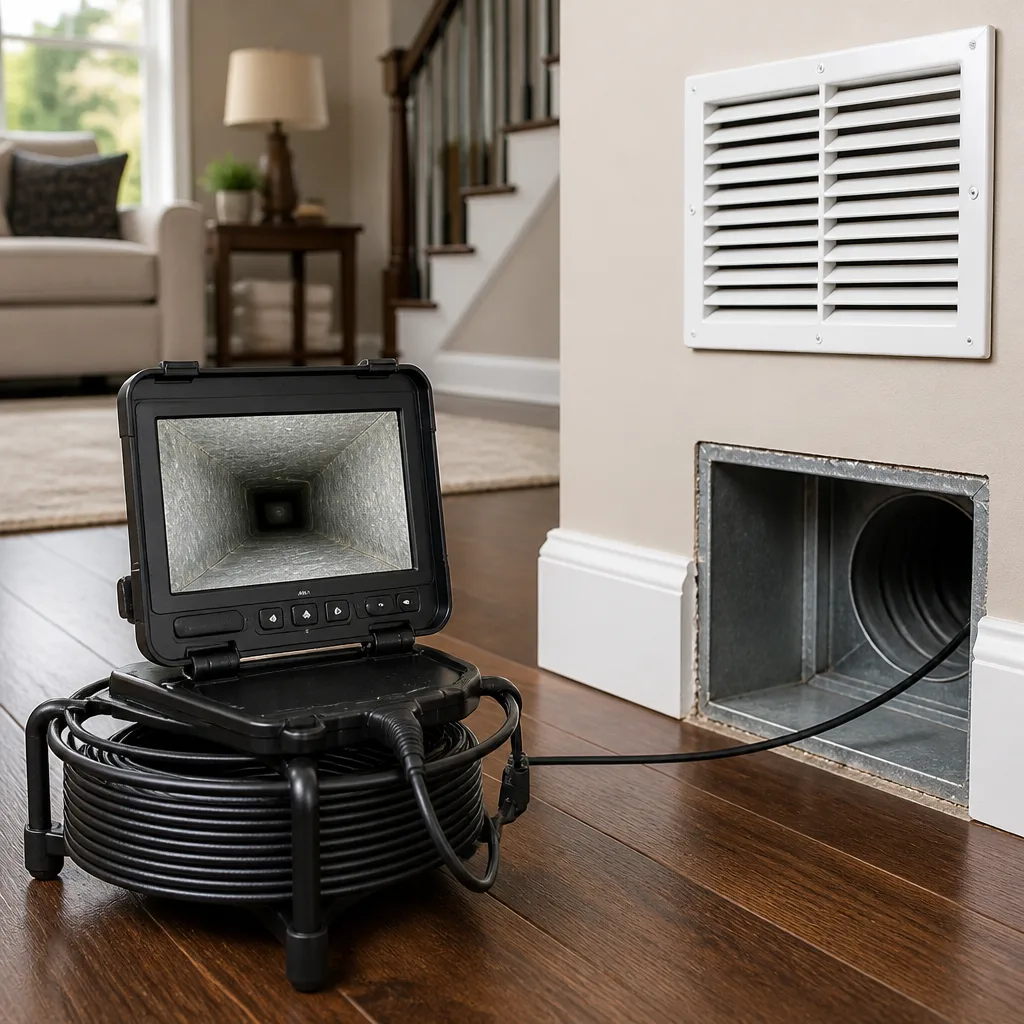 Camera inspection
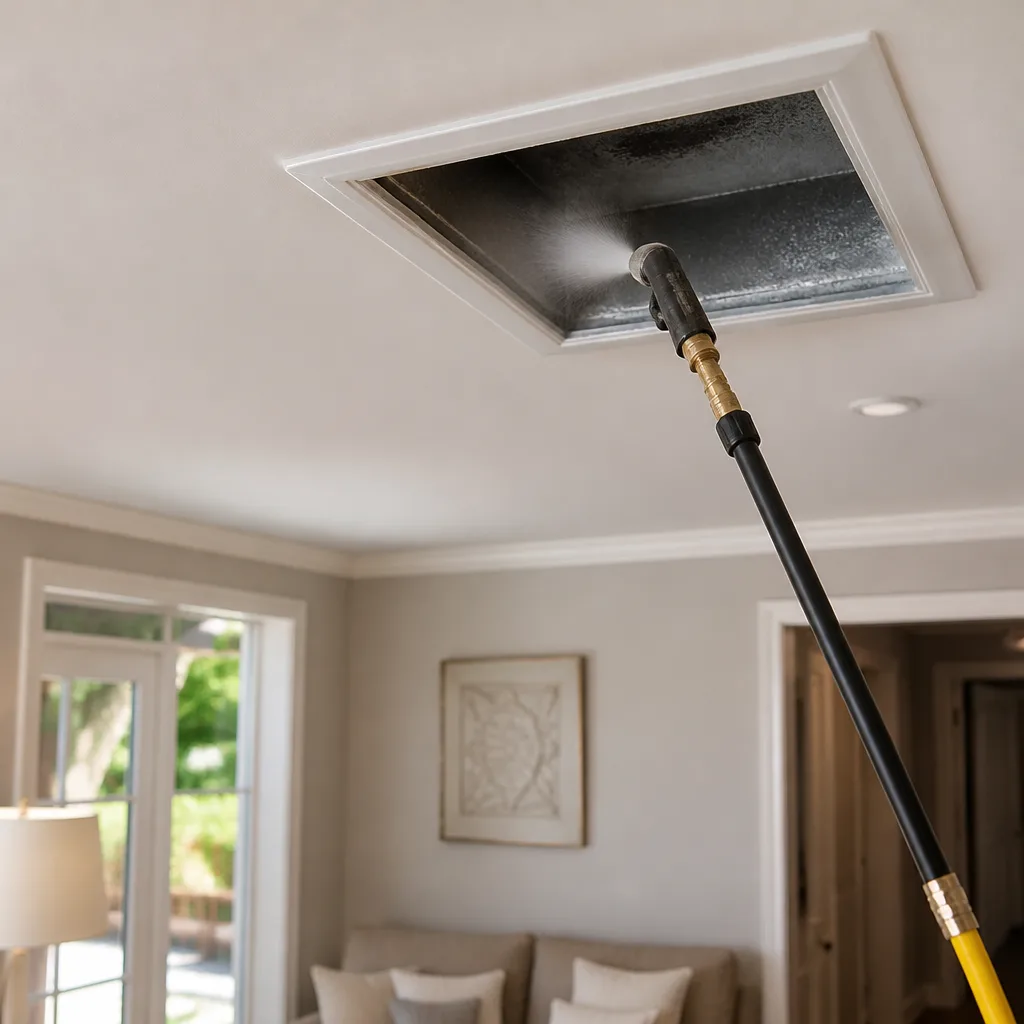 Sanitizing & deodorizing
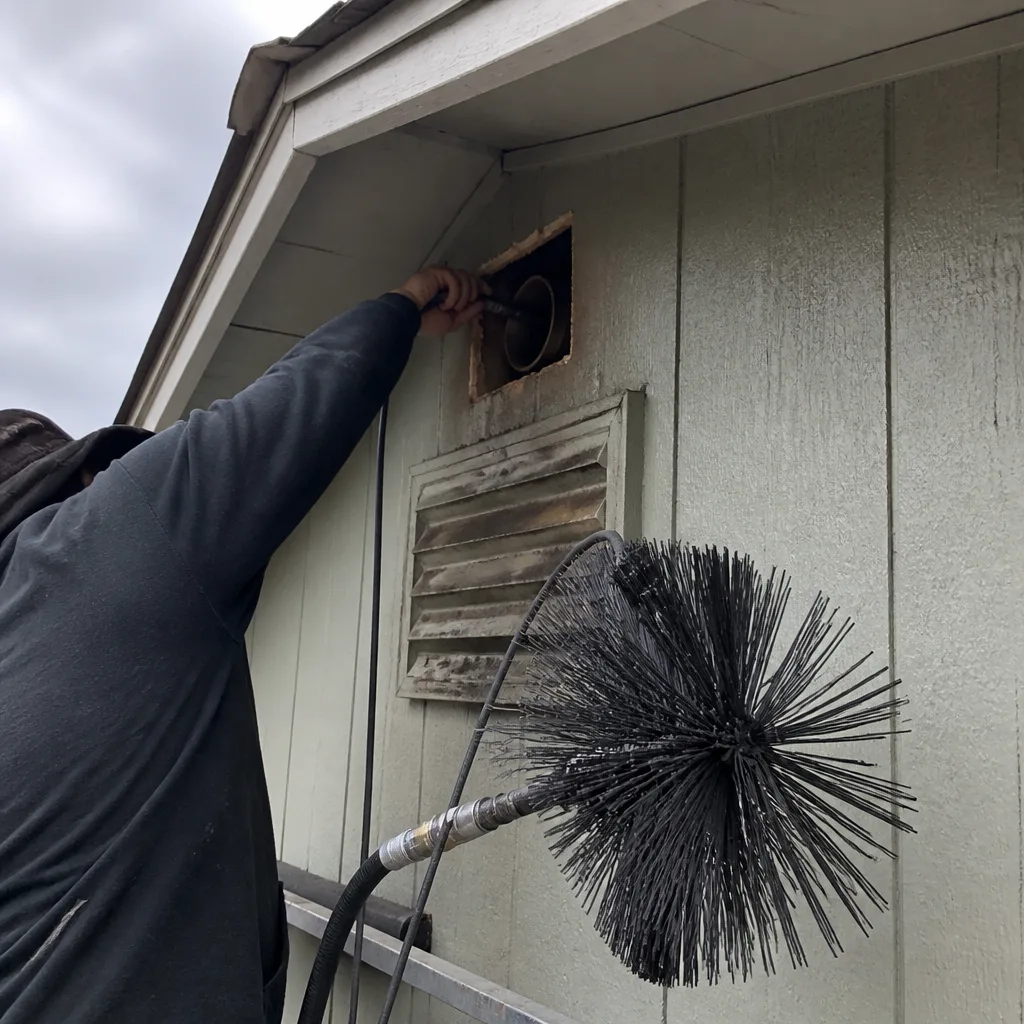
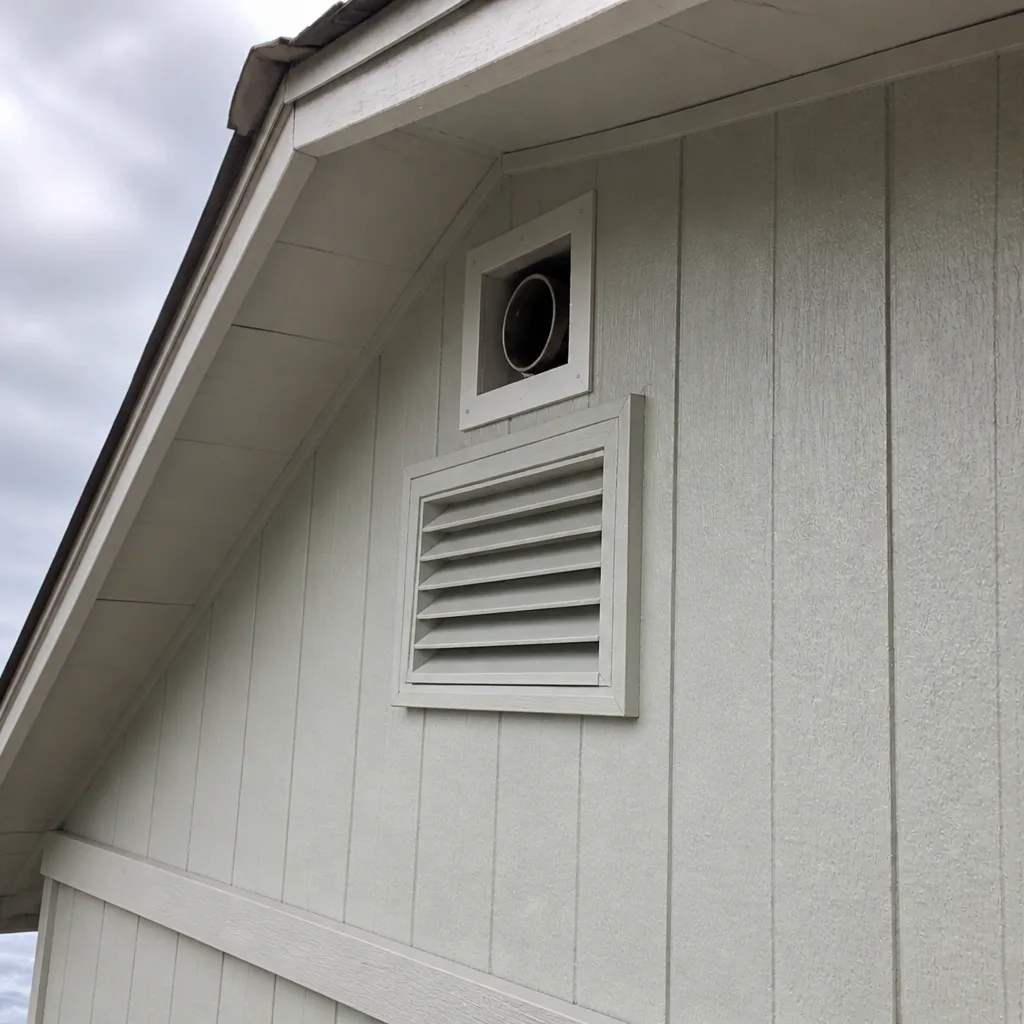
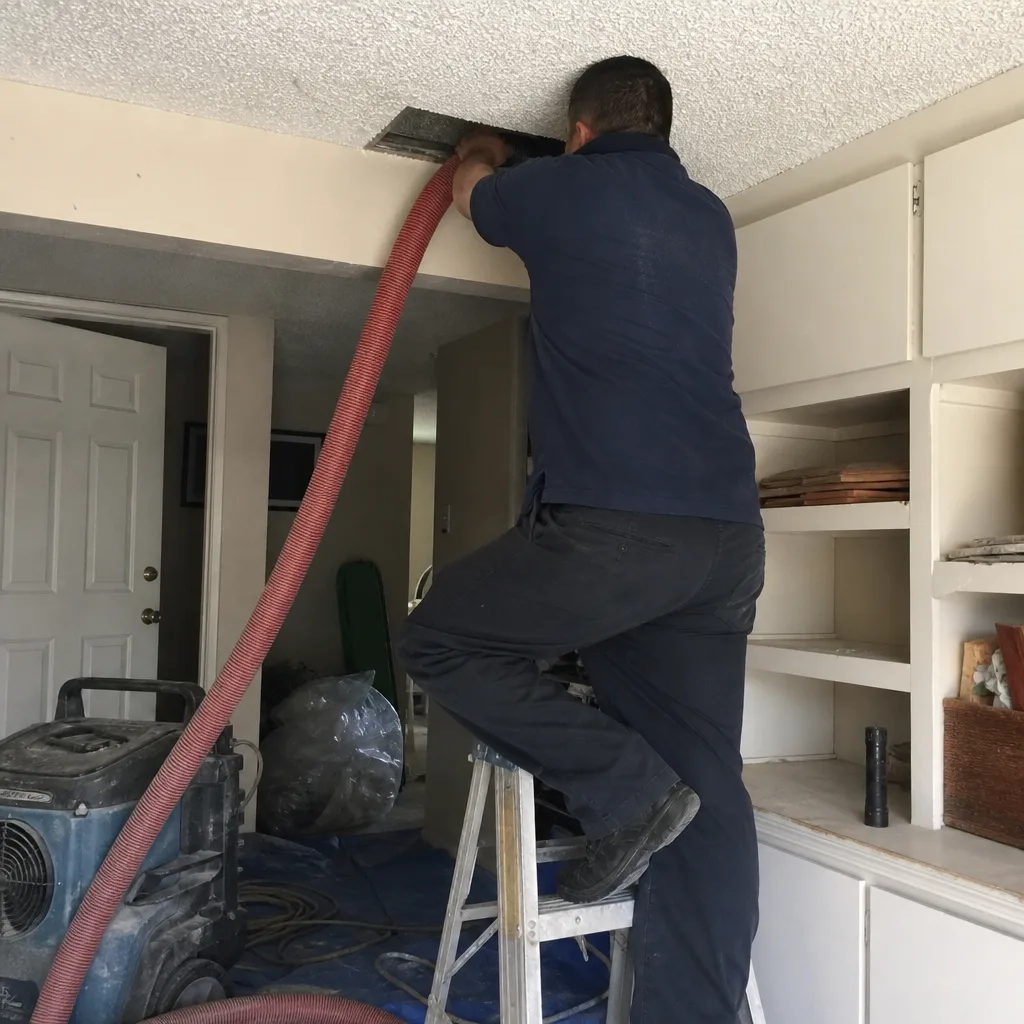
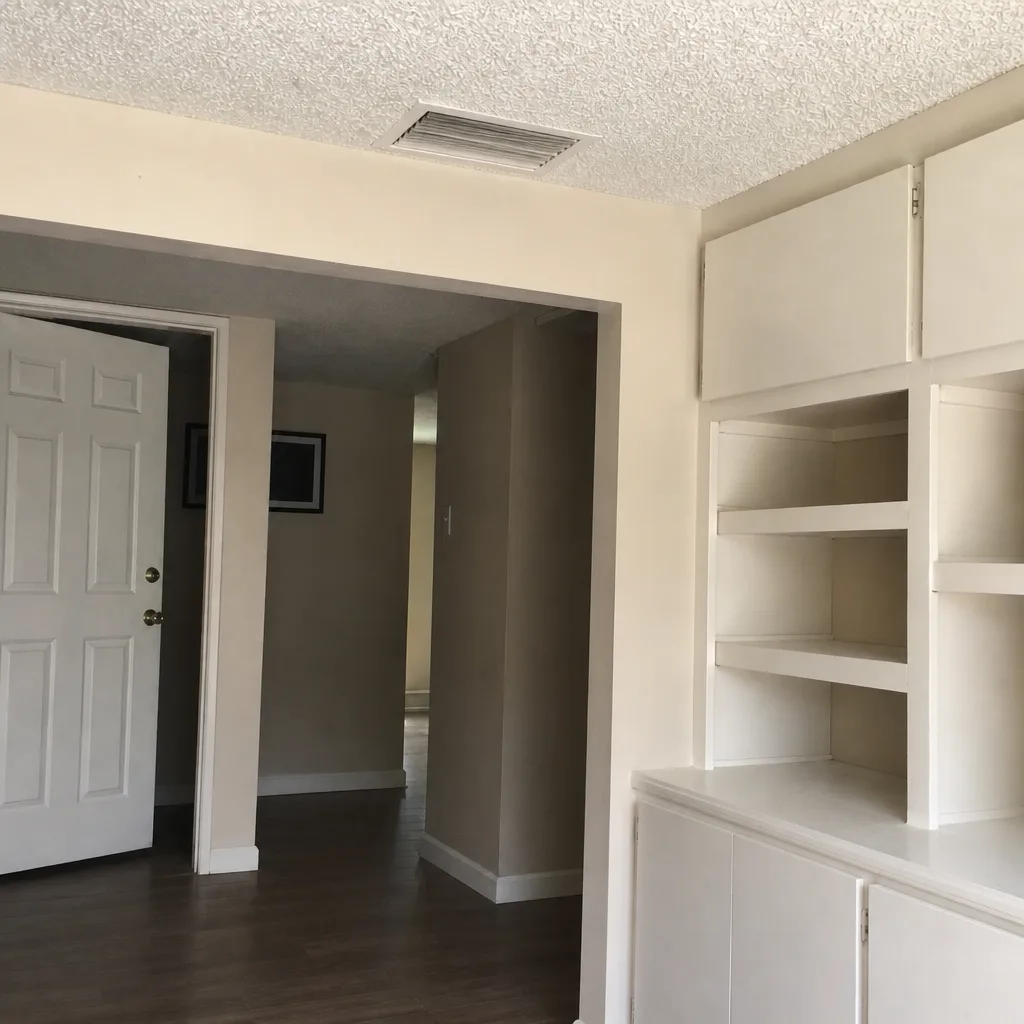
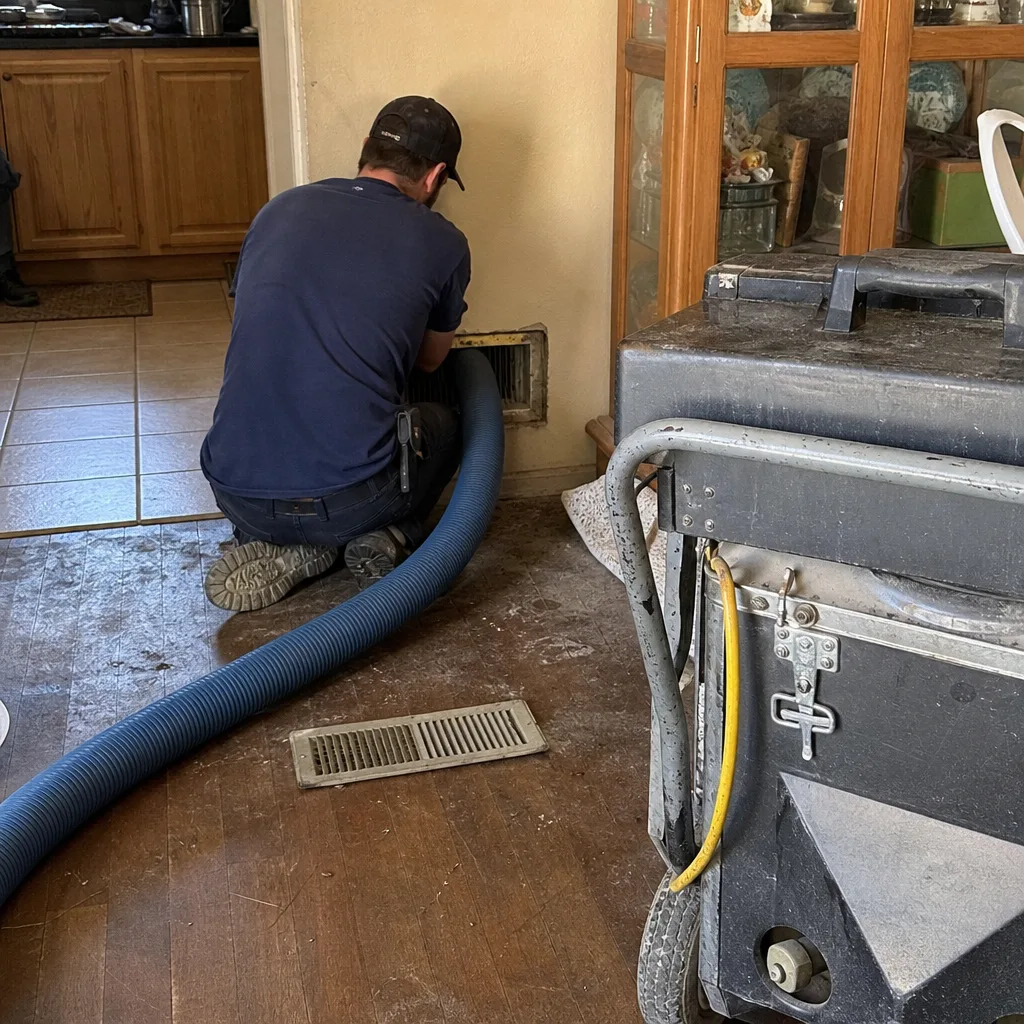
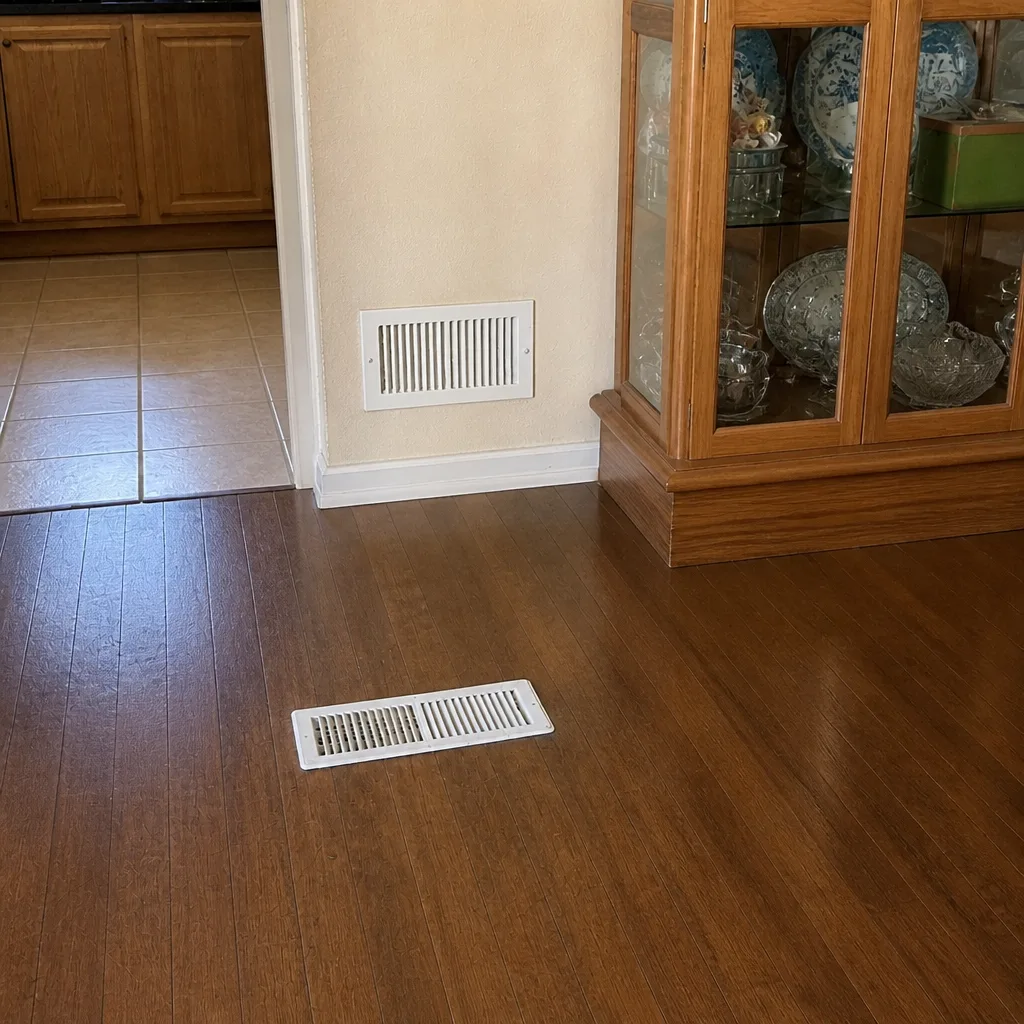
Whole-system duct and dryer vent check with before-and-after photos - you see exactly what came out of your vents
That "$99 whole-house special" is a bait ad - the real number appears once they are in your hallway, or the "clean" is a shop-vac at the register. We photograph the inside of your ducts before and after instead.
Air Duct Cleaning Maintenance Checklist for Ventura Homeowners
Most duct maintenance advice assumes one kind of climate. Ventura doesn’t have one kind of climate. Between the dry Santa Ana winds that strip moisture out of the hills and push grit through every gap in a house, and the marine layer that rolls in and leaves everything damp by morning, your duct system runs through two very different stress cycles in the same year. A checklist built for a Midwest furnace town won’t tell you what to watch for here. What you actually need is a way to read the conditions inside your own home, room by room, and know when the system is asking for attention. This guide gives you that, from the registers to the air handler, plus the point where a homeowner’s inspection stops and professional equipment has to take over.
Styles & brands we work with
- Whole-home duct cleaning
- Dryer vent cleaning
- Camera inspection
- Sanitizing & deodorizing
Quick Answer
A practical air duct maintenance checklist for a Ventura home means inspecting every supply register, return grille and the air handler on a set schedule, changing filters on a cycle tuned to local dust and smoke events rather than a fixed calendar, logging airflow and odor changes as they happen, and calling a professional when you see debris buildup, sagging flex duct, or uneven airflow that a filter change doesn’t fix. The checklist below walks through each of those steps.
Table of Contents
- Why Ventura Ducts Age Differently
- The Room-by-Room Inspection Walkthrough
- Filter Change Intervals for Ventura’s Seasonal Load
- How to Log Duct Performance Indicators
- Flex Duct Runs: The Checklist Items That Matter Most
- When a Maintenance Check Crosses Into Professional Work
- The Dryer Vent: A Separate Checklist
- Common Mistakes to Avoid
- When to Call a Professional
- Frequently Asked Questions
Why Ventura Ducts Age Differently
Ventura County sits in a place where the weather doesn’t stay politely in one lane. Santa Ana wind events pull hot, dry air down through the passes and can drop humidity sharply for days at a stretch. Then the marine layer returns, and interior spaces that were bone-dry drywall and wood a week ago sit in air with much more moisture in it. Your duct system lives through each swing. Metal flexes. Sealant at the joints expands and contracts. Duct tape that looked fine in the dry season can start to peel once the damp returns.
That cycle has a practical consequence for maintenance: the dust that settles inside a Ventura duct system doesn’t just sit there. During a dry wind event, particulate load climbs, filters load up faster, and fine grit gets pulled into return grilles. When the damp comes back, that same dust can turn tacky against the duct walls in humid crawl spaces or attics, where it holds onto more debris instead of being carried through. This is why a fixed “clean it every three years” calendar misses the point. What matters is what your system is telling you, and in Ventura that signal changes with the season.
Housing stock matters too. Many Ventura homes mix older rigid metal trunk lines with newer flex duct branches, so a single system can have two different failure patterns running side by side. Knowing how each one behaves is the first step in the checklist. If your system is ready for a professional clean, our air duct cleaning service covers the full system, not just the branches you can reach from a register.
The Room-by-Room Inspection Walkthrough
You can learn a lot about a duct system in about twenty minutes with a flashlight and a notebook. The goal isn’t to clean anything. It’s to document what you find so that any contractor, including us, can diagnose faster and quote accurately. Work through the rooms in the same order each time so the notes stay comparable month to month.
At each supply register
- Hold your hand in front of the register and feel for airflow. Note whether it feels strong, weak, or inconsistent.
- Shine a flashlight into the register and look at the duct wall behind the grille. Dust streaks are normal; fluffy gray growth or visible debris chunks are not.
- Check the grille and the edges of the opening for dark rings or soot staining, which can point to air leaking around the boot.
- Smell the air coming out. A musty or sour note is one of the earliest indicators of moisture or buildup in the run.
- Run a damp white cloth along the inside rim of the grille. Write down the color of what comes off.
At each return grille
- Confirm the filter is seated flush and hasn’t been pulled into the return by airflow.
- Look at the filter face for the load pattern: even gray is normal, patchy dark corners mean air is bypassing the filter.
- Check the return grille itself for dust matting, and note how long since the last filter change.
- Listen for a whistle or rattle, which can mean the return is undersized or a filter is too restrictive.
At the air handler
This is where the most useful evidence lives. With the unit off and the power disconnected at the breaker, look at the blower compartment and the filter slot. You shouldn’t see dust caked on the blower wheel, and the filter slot should be clean. Look at the connection between the air handler and the ductwork: gaps, torn tape, or sagging flex are worth writing down. If you see water staining around the cabinet or on the platform, stop inspecting and note it, because moisture inside an air handler is a professional question, not a homeowner one.
Log each room’s number against its findings. A room that’s consistently weak on airflow while others are strong tells a contractor more than a general complaint, and it’s the kind of observation that shortens a diagnostic visit. For a property manager maintaining several units, this record is also the simplest way to prove the system was being watched between professional service visits. Our home page at Duct Cleaning Ventura is a good place to start if you’d rather book a full inspection than do the walkthrough yourself.
Filter Change Intervals for Ventura’s Seasonal Load
The standard “change it every 90 days” rule is a rough average for a rough average climate. Ventura doesn’t run averages. Filter life here depends far more on what the outside air is doing in a given stretch than on the wall calendar.
The baseline for most Ventura homes is a filter change every 60 to 90 days. Then adjust up or down based on these local conditions:
- Santa Ana wind events. Each significant dry wind episode loads a filter harder than a normal week of interior dust, so check the filter after a multi-day wind event and replace it if the face is already gray.
- Wildfire smoke windows. When smoke drifts into the county from regional fires, particulate load climbs even without a nearby fire in Ventura itself. A filter that had two weeks of life left can be spent in days. Check it, replace it, and note the date.
- Interior work and remodels. Drywall dust and sawdust wreck filter life faster than anything outside. Change at the start and again at the end of any renovation.
- New pets. Fur and dander change the load pattern. If you’ve recently added a pet, shorten the interval for a couple of cycles and then reassess.
- Marine layer damp stretches. Cooler damp air means more time with windows closed and the system running, so the filter sees more total air volume during those weeks.
Choose the filter rating by what your system can handle, not by the highest number on the package. A very high-efficiency filter can choke airflow in an older system, and a strained blower pulls more energy while pushing less air. If you’re upgrading filtration, whole-home air-quality systems from Honeywell and Aprilaire let you raise filtration without sacrificing airflow the way a plain restrictive panel filter can. Our technicians have up to 11 years of experience matching filter ratings to the equipment that’s actually installed, and we can clean the system and upgrade filtration in the same visit.
How to Log Duct Performance Indicators
The most useful thing a homeowner can hand a contractor is a simple written record. Three indicators cover most of what matters, and none of them requires any equipment.
Airflow balance
Every month or two, walk the rooms in the same order and rate airflow at each register as strong, medium, or weak. You don’t need a meter. What you’re looking for is a change. A room that shifts from strong to weak over two months tells a story. So does a room that’s always been weak, because that pattern points to a design or duct-sizing issue rather than a new blockage.
Temperature differential
With a basic thermometer, measure the air at a supply register and at the return, with the system running and no sun blasting on the duct. Note the difference between the two readings. You’re not looking for a specific number – you’re tracking whether it stays consistent over time. If that difference starts shrinking, airflow somewhere is compromised, and the cause is worth investigating. In Ventura this matters most in the shoulder seasons, when the system short-cycles and the readings are easiest to misread.
Odor onset
Record any new smell that appears at a specific register, and note when it started. Musty at one register points to moisture in that run. A general dusty smell across the house points to the whole system. A burnt or electrical smell is a stop-what-you’re-doing signal and needs a professional right away.
Combine these three into a one-page log per season. When you do call for service, the log gives the contractor a head start on diagnosis, and it makes it much harder to be talked into work you don’t need. For a wider view of where airflow problems typically originate, the Ventura area guide covers the local housing types and what we see most often in each.
Flex Duct Runs: The Checklist Items That Matter Most
Flex duct is everywhere in Ventura’s newer and retrofit homes, and it behaves very differently from rigid metal. It’s a coiled, insulated hose, and it has two predictable weak spots: sag and pooling.
Sag happens when flex runs are supported too far apart or pulled tight around a corner. The inner liner pinches, airflow drops, and the sagging section becomes the low point where debris collects. Pooling follows sag, and once debris collects, that section also becomes the damp spot where odor starts. A flex run that looks fine from the register can be sagging badly thirty feet back in the attic.
The checklist for flex runs:
- Check support spacing along visible flex runs. Sag between supports is a repair item, not something to live with.
- Look for kinked or crushed sections where flex goes around a corner or over a joist.
- Check the outer jacket for tears. A torn jacket means the insulation is compromised and the inner duct is exposed.
- Look at the connection at the collar and at the boot. Flex pull-off at the boot is one of the most common sources of conditioned air leaking into an attic.
- Note any flex run that hangs below the level of its neighbors. That low point is where debris will pool first.
When we find a sagging or separated flex run during a clean, we can repair it on the spot rather than walking away from it. Our air duct repair service exists for exactly this reason: cleaning a system with a torn flex jacket only moves the problem around. We use rotary-brush-plus-vacuum systems from Rotobrush and Nikro to agitate and extract what’s built up inside a run, and Abatement Technologies filtration equipment on hand when contamination is higher than routine dust.
When a Maintenance Check Crosses Into Professional Work
The line between a homeowner checklist and professional equipment is defined by what the tools can do, not by a vague sense that the ducts “look dirty.” Two things separate a homeowner inspection from a professional job: reaching inside a run with something that physically agitates the surface, and capturing what comes loose so it leaves the system instead of being redeposited in another room.
Here’s what makes a professional clean different from what you can do yourself:
- Rotary brush + vacuum extraction. A rotating brush head travels the length of the run and scuffs the dust and debris off the duct wall, while a high-volume vacuum captures it at the same time. Compressed air alone, or a shop vac at the register, doesn’t touch either of those steps.
- Reaching the trunk and branches. Registers give access to maybe the last few feet. The trunk line and branch takeoffs are where most debris pools, and those need proper access tools.
- Before-and-after photos. A real clean can show you what the inside of the run looked like before and after. If a contractor can’t show you proof of the system they actually worked on, that’s a question worth asking before the work begins.
- Contamination grading. When buildup goes beyond ordinary dust – post-construction debris, moisture-affected sections, or higher particulate scenarios – the equipment and the method change. Abatement Technologies equipment is the standard used in serious air-quality and remediation-grade work, and it’s the right tool for those cases.
The practical threshold for most homeowners: if the dust you see at the register is more than a light film, if a filter is loading up faster than the calendar says it should, if airflow has dropped in a room, or if you’re seeing anything that looks damp inside a run, that’s the point to call. A whole-system clean with rotary extraction is a different job from a wipe-down, and treating it that way is what makes the result last.
The Dryer Vent: A Separate Checklist
Dryer vent cleaning deserves its own line on the maintenance checklist, not a footnote. Lint accumulates in the vent run the same way dust accumulates in the ducts, and a clogged dryer vent is a fire-safety item rather than a dust item. Most duct cleaners treat it as an add-on. We treat it as a core service because it belongs on the same maintenance schedule as the ducts.
The homeowner’s dryer vent checklist:
- Check the exterior vent flap. It should open freely when the dryer runs and close when it stops. A flap that doesn’t move is a blocked line.
- Feel the outside airflow with your hand. Weak flow or no flow means the run is restricted.
- Check the flexible connection behind the dryer for kinks or crushing, and confirm it’s not pinched against the wall.
- Clear the lint trap every load. That’s the floor of the maintenance routine, not the whole job.
- Look for lint visible past the trap or around the vent run. Visible lint beyond the trap means the run is holding lint too.
- Note any longer-than-usual dry time. Unexpectedly slow drying is one of the most reliable early signals.
If you check those items and the run is restricted, that’s a professional job, and our dryer vent cleaning service handles it as a standalone job if that’s the only thing you need. Keeping duct cleaning and dryer vent cleaning on the same schedule makes sense for most Ventura homes, but it’s an option, not a requirement.
Common Mistakes to Avoid
- Treating a fixed calendar as the whole checklist. In Ventura, filter life changes with the seasons and with smoke events, so a calendar alone will leave you underfiltering when the load is highest.
- Standing at a register with a shop vac and calling it cleaned. A shop vac reaches a few feet at most and can move debris deeper into the run rather than out of it. The trunk and takeoffs are where the real build-up is.
- Chasing the highest MERV rating regardless of the system. A very restrictive filter in an older system can choke airflow and strain the blower. Match the filter to the equipment.
- Ignoring a damp smell at one register. A single musty register usually means moisture in a specific run, and that’s exactly the kind of condition that needs the right equipment before it spreads. Leave moisture diagnosis to a professional.
- Skipping the dryer vent because the ducts are the star of the checklist. The dryer vent is a safety item and deserves its own line, not a checkbox you forget.
- Hiring a crew that won’t show you before-and-after photos of the system they actually worked on. Without proof, there’s no way to tell a full rotary-brush extraction from a quick pass with a blower.
- Cleaning a system without checking for flex duct damage. A torn or sagging flex run will refill with debris after a clean. Fix the run first, then clean, or repair on the spot so the clean actually holds.
When to Call a Professional
Call for professional service when the checklist points to something the homeowner walkthrough can’t reach. Specific scenarios: debris visible inside a run beyond the register, a musty smell that returns after a filter change, airflow that’s measurably dropped in one room, a flex run that’s sagging or torn, an air handler showing dust or moisture, a dryer vent with restricted exterior airflow, or a filter that loads up well before the calendar interval. Those are the conditions where rotary-brush extraction, proper access to the trunk and branches, and the right capture equipment make the difference. Surface-level tools won’t get the job done in any of those cases, and that’s the entire reason professional equipment exists.
Duct Cleaning Ventura offers free estimates in Ventura – call (844) 834-2166. We give you one flat price per system agreed before work starts, and before-and-after photos of your own ducts so you can see the result rather than take our word for it.
Frequently Asked Questions
Most Ventura homes go somewhere between three and five years between professional cleans, but the right interval depends on what the checklist shows. Homes near recent construction, homes with pets, and homes that go through hard smoke seasons may need it sooner. If your filters are loading faster than your filter cycle says they should, that’s a stronger signal than the calendar.
Filter changes are the most important non-negotiable part of the checklist, but they don’t reach what’s already settled in the duct walls. A filter protects the system going forward; it doesn’t remove what’s built up on the trunk and branches. Once debris is inside the runs, rotary-brush extraction is what gets it out.
A professional clean uses a rotary brush that travels the length of each run and scuffs accumulated dust off the duct wall while a high-volume vacuum captures it at the same time. A shop vac reaches a few feet and can push debris deeper. The trunk line and branch takeoffs are where most debris pools, and those need proper access tools.
Ask for before-and-after photos of the interior of your own runs, not stock photos or a general brochure. A real clean produces a visible difference in the trunk and the branches, and a contractor using professional rotary-brush equipment can document that. Our crew does that as standard, so you can see the result of your own system.
Low per-vent teaser pricing is a known figure in this trade, and the number quoted at the phone can turn into a much larger invoice once the technician is on site. We quote one flat price per system, agreed in writing before work begins, with no per-vent pricing. If you get a surprisingly low quote, ask what equipment it includes and whether the price covers the trunk and branches, not just the registers you can see.
Dryer vent cleaning is a separate safety service, and yes, it can be scheduled with duct cleaning or on its own. The check to run at home is simple: the exterior vent flap should move freely and airflow at the vent should be strong. If either fails, that’s a good sign the run needs professional attention.
The Bottom Line
A working maintenance checklist for a Ventura home isn’t a calendar. It’s a habit of reading the system: the registers, the returns, the air handler, and the flex runs, checked in the same order each time so the notes mean something. Change filters on a cycle calibrated to local dust and smoke, log airflow, temperature differential, and odor onset so a contractor can diagnose faster, and call a professional the moment you see the conditions a homeowner can’t reach – debris inside a run, a damp smell, sagging or torn flex, or a dryer vent that’s losing airflow. The point of the checklist is to catch problems before they cost you a full system.
If the checklist has raised a question about your own ducts, call Duct Cleaning Ventura at (844) 834-2166 for a free estimate. We answer 24/7. Fast dispatch from 7am to 7pm, Sunday through Friday. We use Rotobrush and Nikro rotary-brush systems on every job, carry Abatement Technologies equipment when contamination is beyond routine dust, and can repair what we find in the same visit rather than sending you to a second contractor. One flat price per system, agreed before work starts, with before-and-after photos of your own ducts.
Written by the team at Duct Cleaning Ventura.
See the difference
 Before
 After
 Before
 After
 Before
 After